How To Tie A Slip Knot – Quick Guide For Beginners
Every crochet project begins with one fundamental step – making a slip knot!
This initial loop is the basic element in both crocheting and knitting. Therefore, it’s a crucial skill to master for beginners.
What is a Slip Knot and Why is it Important in Crafting
It is a basic knot used in crafting, essential for anyone looking to learn crochet or knit. You will always start your project with an initial loop. This type of knot can be easily tightened or loosened by pulling on the yarn ends, allowing for adjustments in tension as needed.
Slip knots serve as a starting point for any project, and will not come undone unless you loosen it. They give that stable base so you can start casting on stitches (in knitting) or making chains (in crocheting).
What is the Difference Between a Slip Knot and a Regular Knot
The key difference lies in that a slip knot creates an adjustable loop. You can tighten or loosen it by pulling on the yarn. A regular knot, on the other hand, aims to secure something firmly and permanently, and you can’t adjust it.
What Materials Can Be Used to Make a Slip Knot
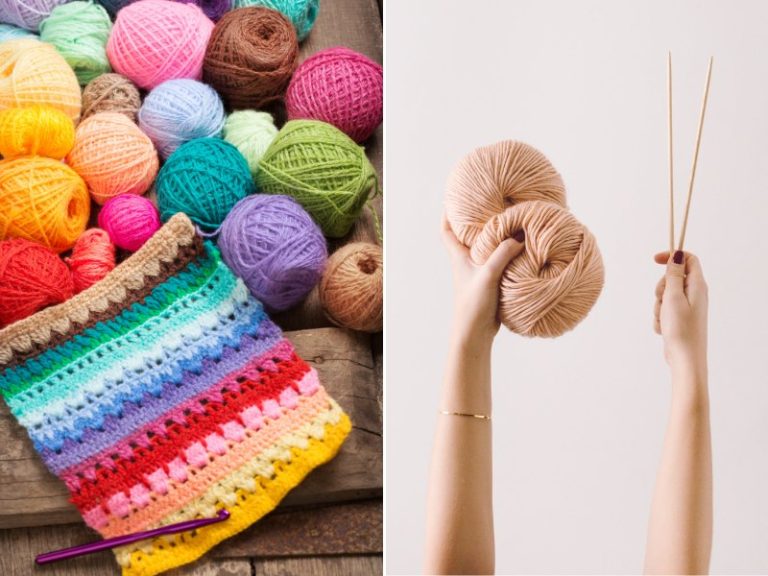
To practice making a slip knot, you’ll need minimal materials. Any type of yarn and a crochet hook or knitting needle suitable for your yarn’s weight will do. Preferences vary, but smooth, medium-weight yarn and a comfortable hook will be perfect for beginners.
Does a Slip Knot Count as a Stitch
The answer is no. It serves as the initial loop on the needle or hook from which you begin your project but does not count as a stitch.
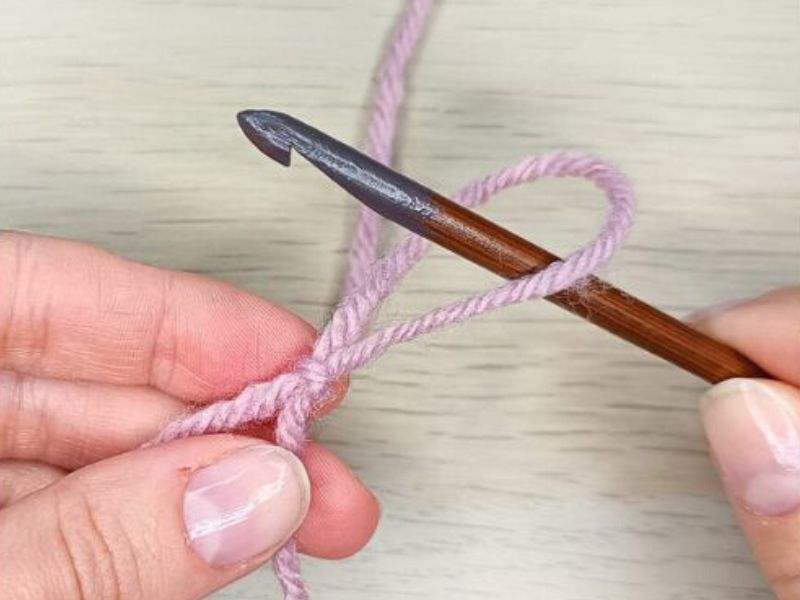
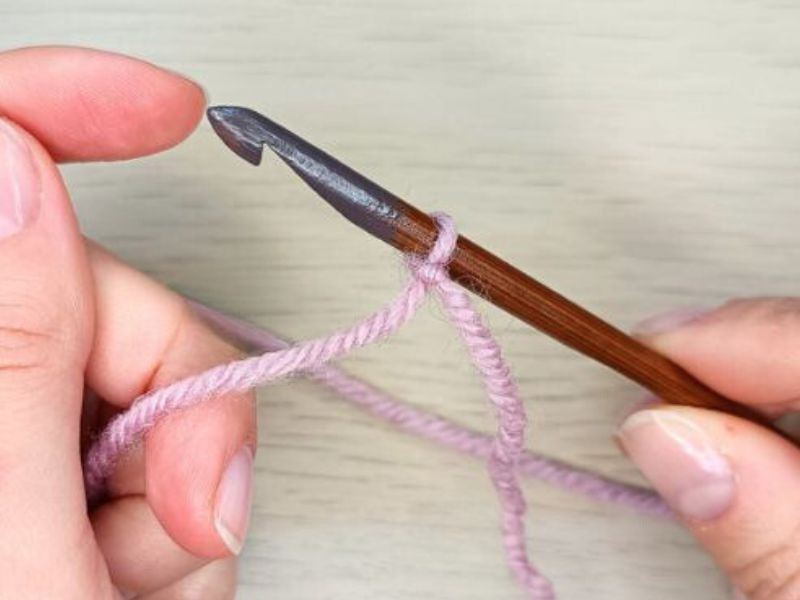
How Do I Properly Tie a Slip Knot
It’s time to tie your first initial loop! For an in-depth tutorial, check out How to Make a Slip Knot [Video Tutorial for Beginners]. This guide breaks down the process into six simple steps so you can grasp it very quickly.
Are you a visual learner? Don’t worry. In addition to written instructions, you’ll also find a step-by-step video tutorial. It will help you complete your first slip knot successfully.
Are There Any Common Mistakes When Tying a Slip Knot
New crafters often make their initial loops too tight or too loose. A tight knot can make subsequent stitches difficult, while a loose knot may lead to uneven work. Practice making knots at varying tensions to find the right balance.
Are There Variations of the Slip Knot
There are different ways to approach tying a slip knot. Some crocheters form it by hand and then place a hook through the loop, while others complete the tie using only their hook. Give these two methods a try to find out which one works best for you.
Slip Knot in Crochet Projects
Once you’ve mastered the initial loop, you’re ready to start your first project! This knot serves as the anchor for your work, whether you decide to make a beautiful crochet shawl, cozy blanket, or stylish garment. What will be your pick?
Conclusion
The slip knot is your first step into the world of yarn crafts. By mastering this basic technique, you’ll set yourself up for success in countless projects to come. Remember, every expert crocheter and knitter began with a single slip knot. With practice and patience, it will quickly become your second nature!
FAQ
How Do I Know If I Have Tied a Slip Knot Correctly?
If you have tied a slip knot correctly, it will have a loop that can easily be adjusted by pulling on the yarn tail. If the knot holds its position when pulled and you can untie it by pulling on one end, it’s tied incorrectly.
Can a Slip Knot Be Used in Macrame?
This knot plays a crucial role in creating adjustable loops for hanging or adding new cords to a piece. Its ease of adjustment and undoing makes it ideal for macramé projects that require flexibility and precision.
Can a Slip Knot Be Used in Jewelry Making?
An initial loop finds its application in jewelry making, particularly in adjustable bracelets or necklaces. It allows for easy adjustment of the length of the piece, making it adaptable to the wearer.